Third time is a charm, they say. We say (in Finnish), the third time bears the truth. When I finished my third Anthology throw, I thought that I was done. But I have the 5th one on the needles as we speak. Is there a saying about the number five? (Other than madness?) The original Anthology throw is Helen Stewart’s design and can be found on Ravelry. I have made minor variations along the way.


At first, I want to thank you for all the comments I have received these past weeks. Always enjoy getting them, it is nice to know that there is someone out there on the other side of the screen. I am not very active on social media, as you know. I am not on Facebook or any other platform than Instagram and this blog (on and off since 2005!). Oh, and Ravelry. I still try to upload my finished objects there, although some might escape that fate.
I follow knitters and other makers on YouTube and it has crossed my mind to start my own channel but … I am afraid that my English voice has too strong accent for anyone to enjoy listening to. Of course I could speak Finnish and then add subtitles to the video, but in all honesty, I am not sure if I would have the skills needed to tackle all the demands in producing good content on YouTube. Plus there are so many good ones out there to watch.
I am writing today, as I need to clarify (to me) few facts of this Anthology madness I am in. (I might have written these thoughts or similar ones already many times, I might just be repeating myself, but I need to clear my head and thus am again at this subject.)


Why all these throws? Not socks, hats, mittens, sweaters, scarves, cardigans? (I did make two dog sweaters last fall.) Why these huge throws?
Because I love to play with colors.
If one has only two colors, one has to be very careful that they compliment each other in some pleasing manner. When one adds a third one, one has to be even more careful of the said combinations. When there are more colors, the easier it is to add even more and in the end they just magically work together. I have been given the advice of adding more colors when in doubt. Even the odd color spots seem like they are there out of careful planning. The truth is that in my blankets those strange colors are there because I just felt like knitting with them that given moment. My decisions are driven by my feelings, in picking of colors at least.


I am sometimes asked how do I know what color to pick next. I do know the basics of the color wheel and that is my foundation. But I very much go with my instinct that has been trained with trial and error. After many mistakes (I am not afraid of ripping out if something goes terribly wrong) I have gathered silent knowledge, the kind that piles into your mind and memory without you really noticing it.
Like some people are very good in spicing their food… they make something, taste it and immediataly know, what the food needs to be perfect. When asked, they know the basics, but otherwise they go with the silent knowledge and instinct. My color combinations are far from perfect and there is a lot to learn, but that keeps the process so very interesting.
My colors are influenced by my mood, my state of mind, my environment, my light. I was reading a book of shadows, I don’t remember the name any more, but there was a discussion about the light and the color. It blew my mind to think that in the old times, people were forced to pick the colors in various circumstances. They did not have the luxury to only pick them in the perfect lighting but were forced to proceed in the shadows too. Imagine having to select colors in candle light or in the shadows. How would that affect the color choices?
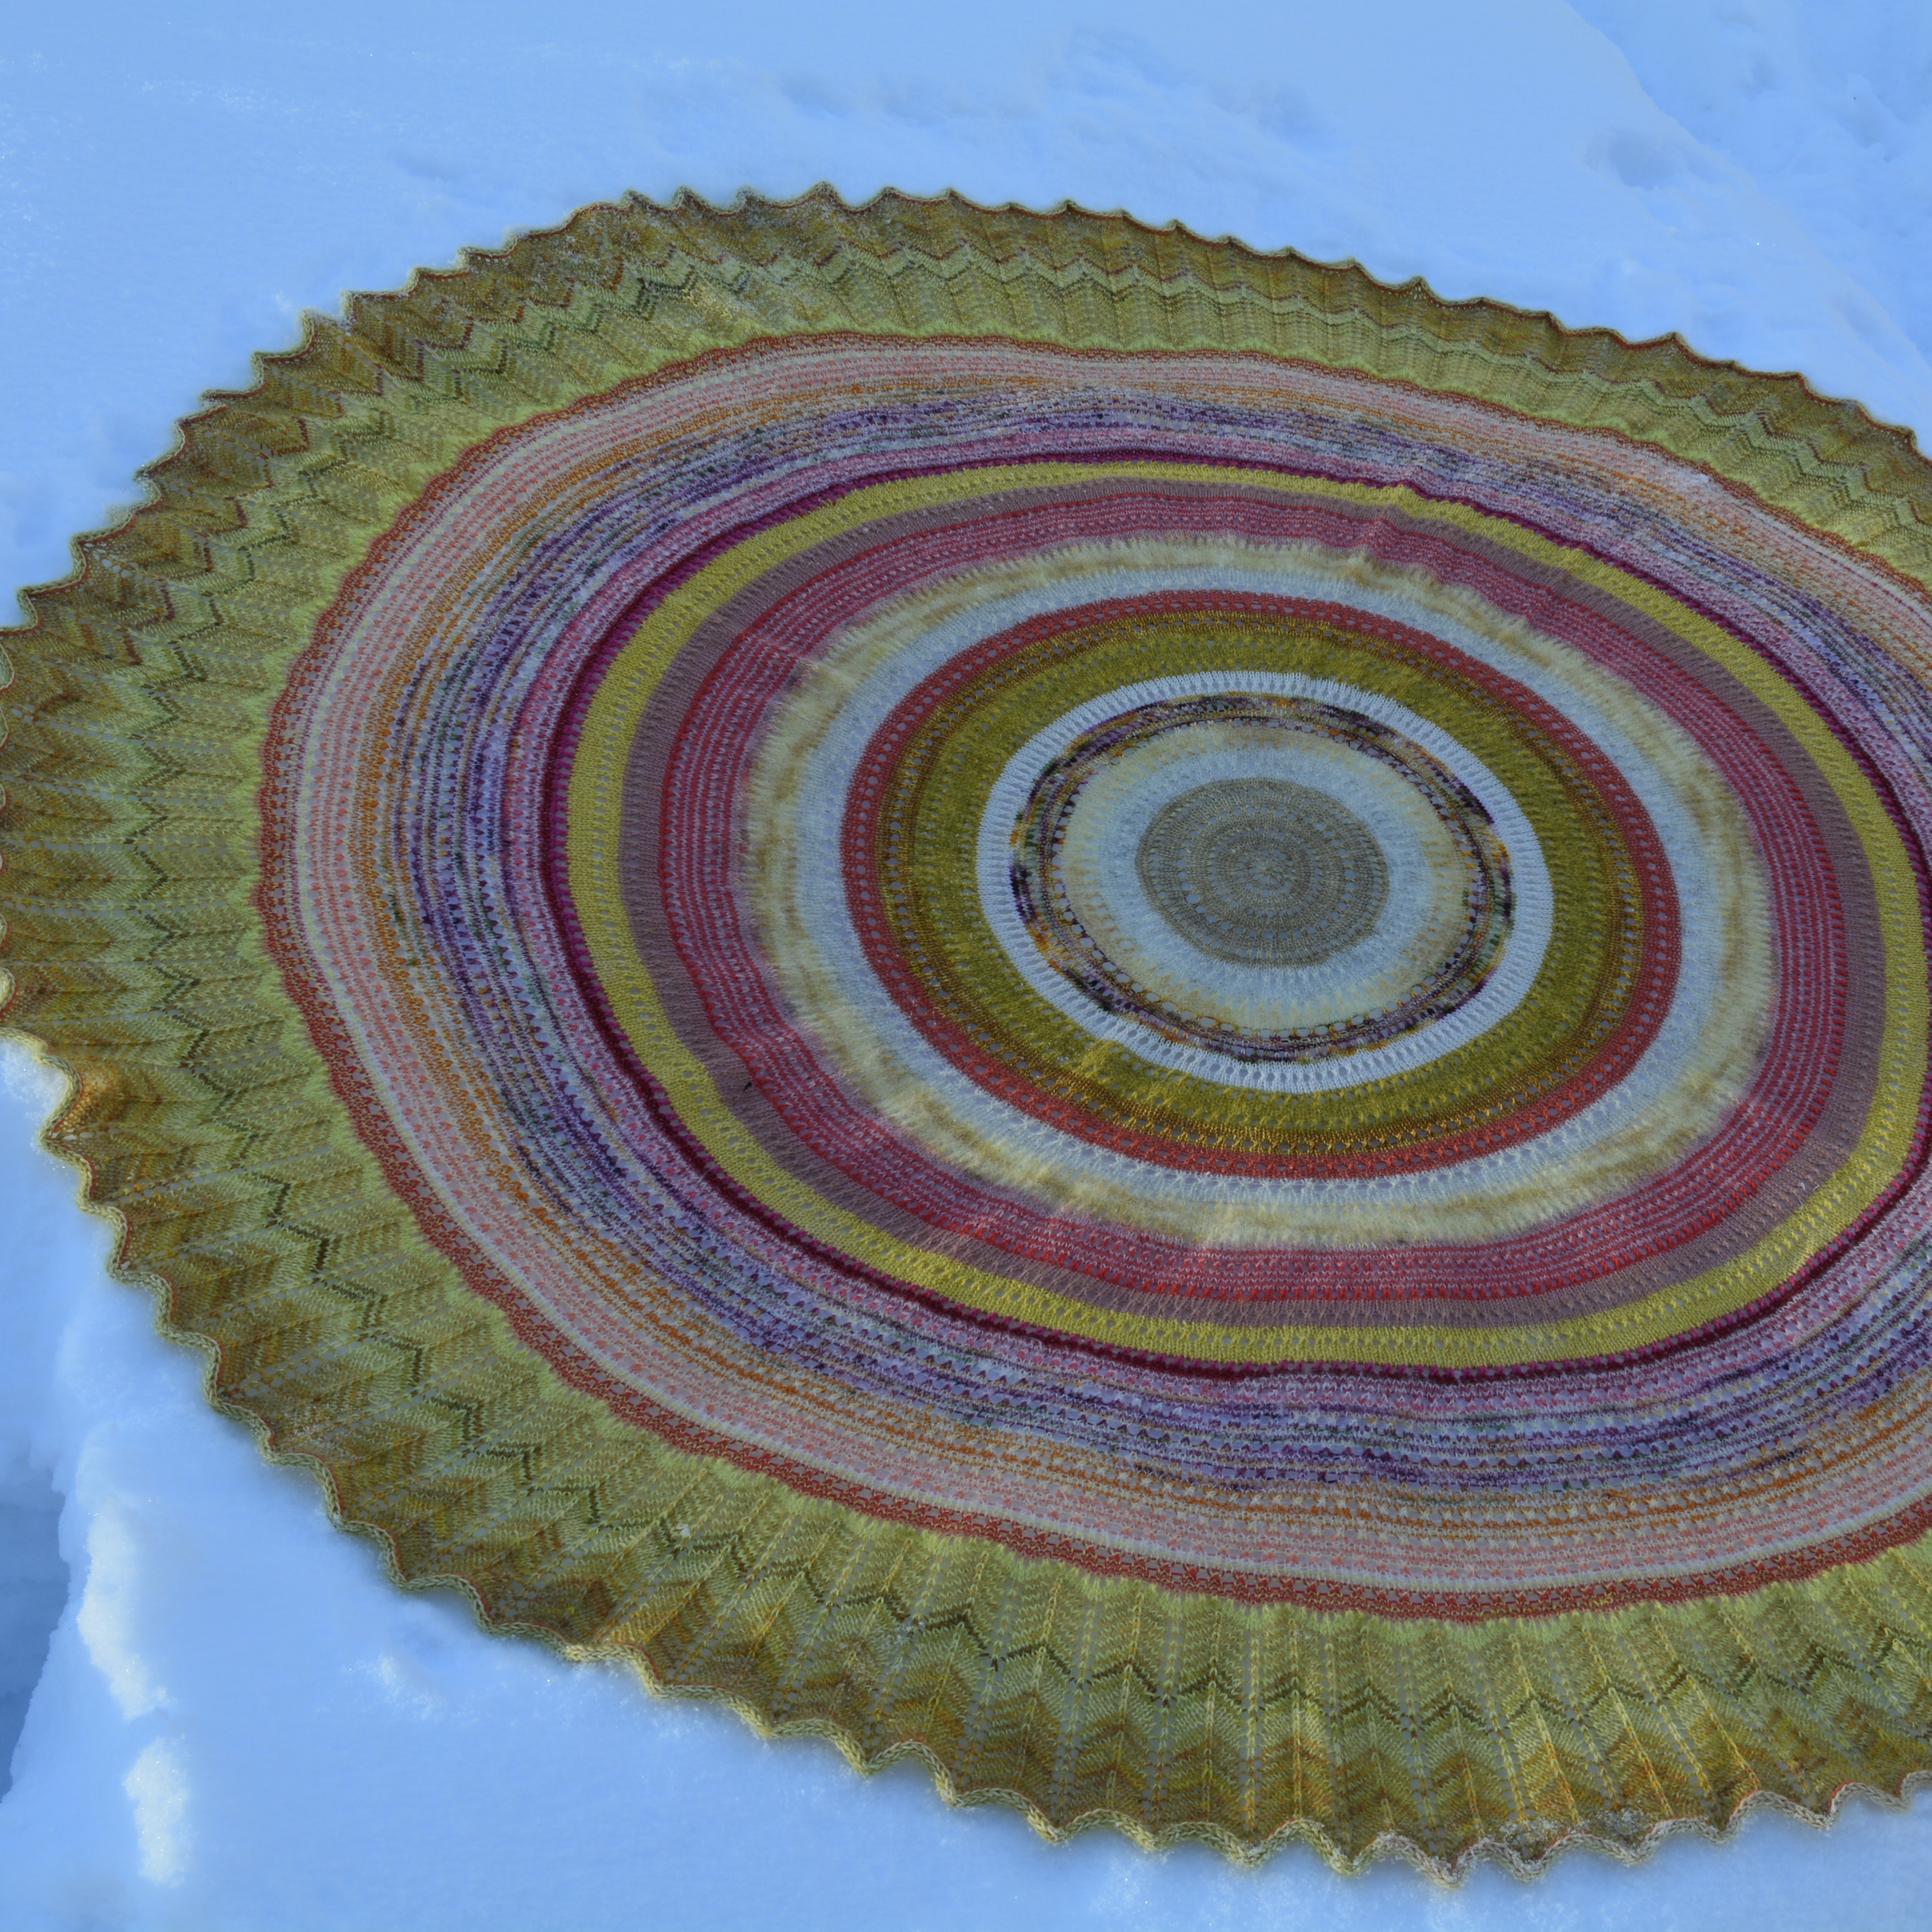
Another reason for round throws? The surprise! One has to have the strength, the force, the power to finish the long rounds when coming close to an end. The blanket is so scrunched on the needles that it is very difficult to know the end result and that is exciting. Once the final stitch is bound off, I throw the blanket on the floor, and that moment is priceless. (My life is simple and small.) I can finally see the outcome… how did I succeed? The pile of odd skein ends and bits of new ones became this huge circle of colors. Am I happy with the end result?
Throw is a throw, it does not need to fit, I don’t need to wear the colors but still get to use them. (I would love to dress in black only, I have to force myself to wear colors, because old woman in black can look a bit scary… I have been told! )
The throw is big enough for color play and there is plenty of space to change one’s mind. I did knit myself a scrappy hat, but the end result was not pleasing because I was too lazy to change yarns all the time to make it interesting. Five or six color changes did not make a lovely hat. But when there are few hundred stitches on one round, one can knit few rounds before needing to think about the color change and the need to weave in the ends.
(When I change colors, I knit few stitches with the old yarn held with the new one. When the yarn is very slippery I secure the ends with a sharp tapestry needle.)
It is very pleasing to be buried in the long rounds without the need to worry about the next project. I can easily cast on a thousand projects, but I do loose my interest very quickly and end up having many ratty, raveled skeins. When knitting on a big project, I do not need to fish for a new one very soon and don’t need keep on casting-on and ripping.
If you look at the pictures of the odd skeins here on my table in front of me, there are many different types of yarns there and they might vary in thickness. Round piece is very forgiving because you don’t need to get straight edges. It would be difficult to make a scarf or a shawl with straight edges with different yarn weights or different fiber qualities, as some stretch more than others. In this round form, one does not need to worry about that.
Mohairs are my best friends, as they soften and blend the colors. I would love to knit a throw with combining colors with white or gray mohair just to see the end result. The yarn world is full of all kinds of mohairs and soft alpacas, it is very hard not to collect more. I am trying to reduce my stash so I have not bought yarn for a few months. While mohairs are blenders, I use helical stripes too, to soften the color change. These huge throws eat lots of yarn, but much less than you expect!
One good way to bring together all the different colors, is to concentrate on the border or add something eye-catching to it. I like the border to be fairly wide and I have tried to make a statement with it.


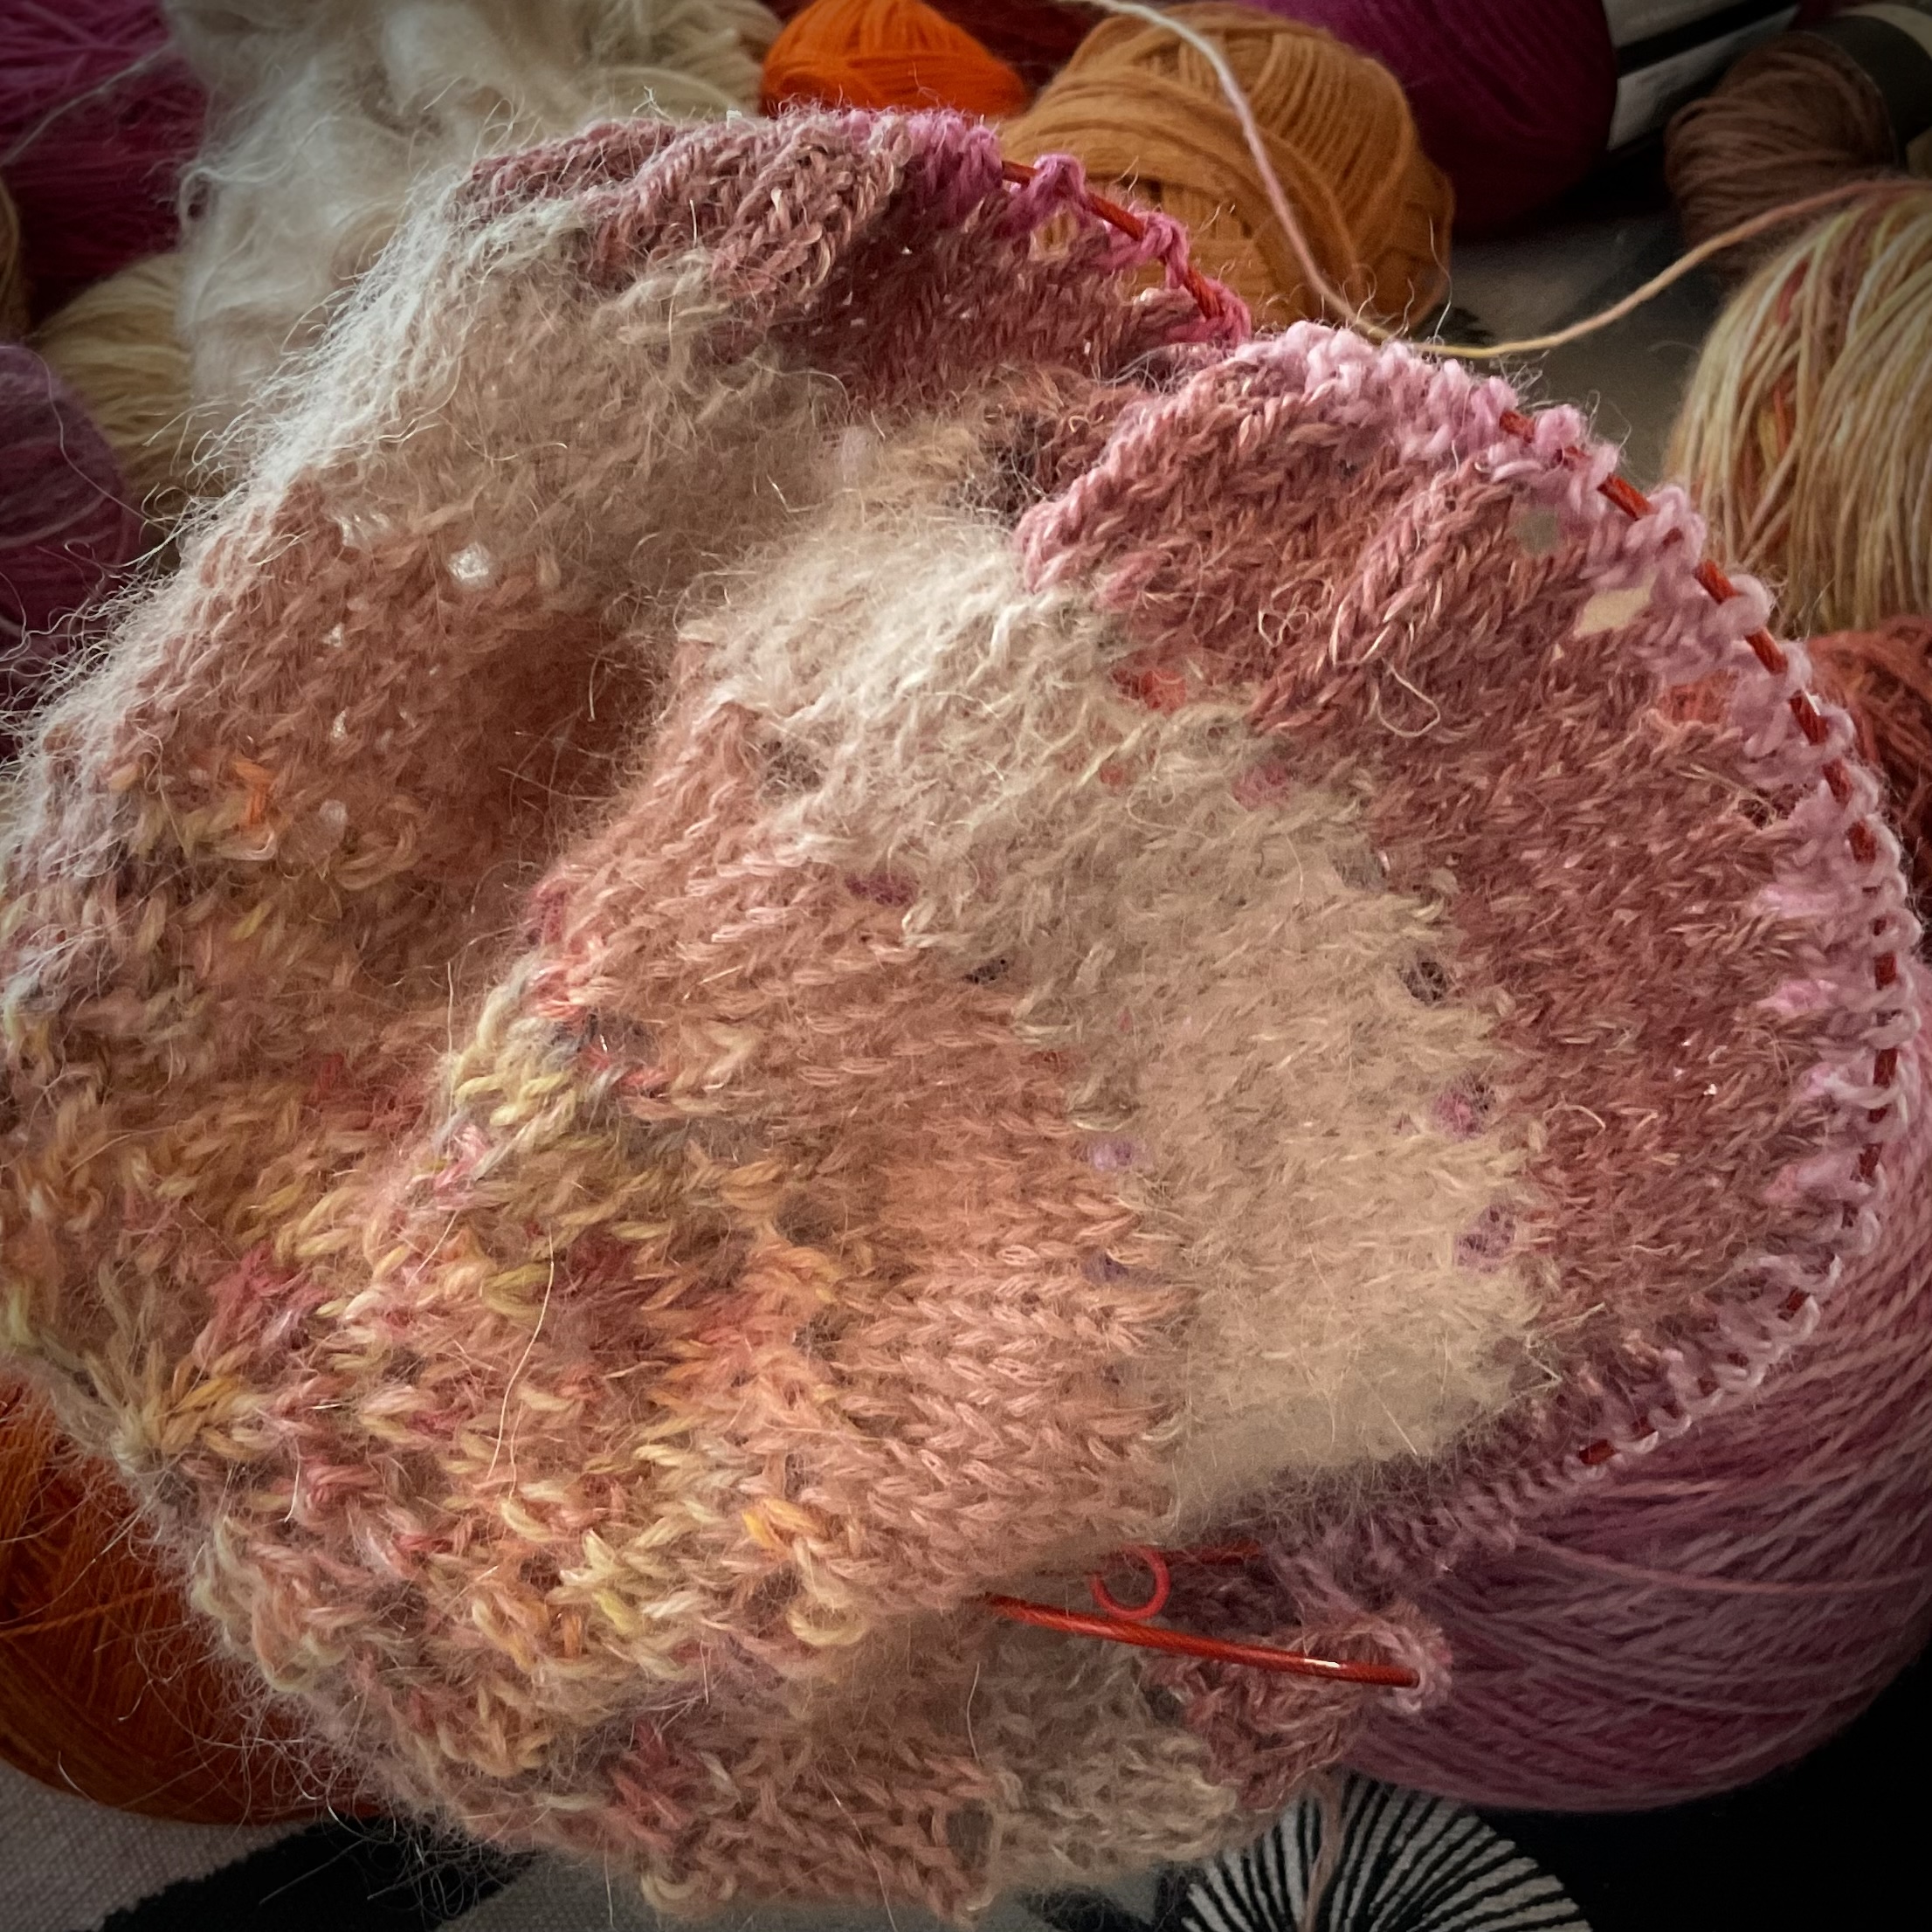
I have just completed few rounds on my 5th throw. I changed my increase rate from the Anthology throw, as it is knitted with Elizabeth Zimmermann’s Pi-shawl recipe. I increase more often and with less stitches. I have taken Stephen West’s shawl-design class and he gives good advice in his presentation about colors and increases and increasing. I just love to follow him and see what he is up to. He is my guru, he introduced me to this color knitting in the first place and his approach to knitting brought joy back to my knitting. I just have to mention him always.
I think I will knit with pinks and oranges and reds. I have a few full solitary skeins that I plan to break into and use them too. I love that bright pink, and hope can find a spot for it at some point. Some of the yarns are my own hand dyed ones, some are truly old and some quite recent buys, newest are from the last year I think.
One little tidbit, I would like to add. I use 4mm needle as my working needle, but the one that just feeds the stitches is smaller, I use 3,25mm for that. I love ChiaoGoo interchangables.
When I look at my yarn stash, I feel very lucky and very happy … there resides the thrill, the excitement, the love of my knitting.
Be well, and wool, as always, with you,
Lene


